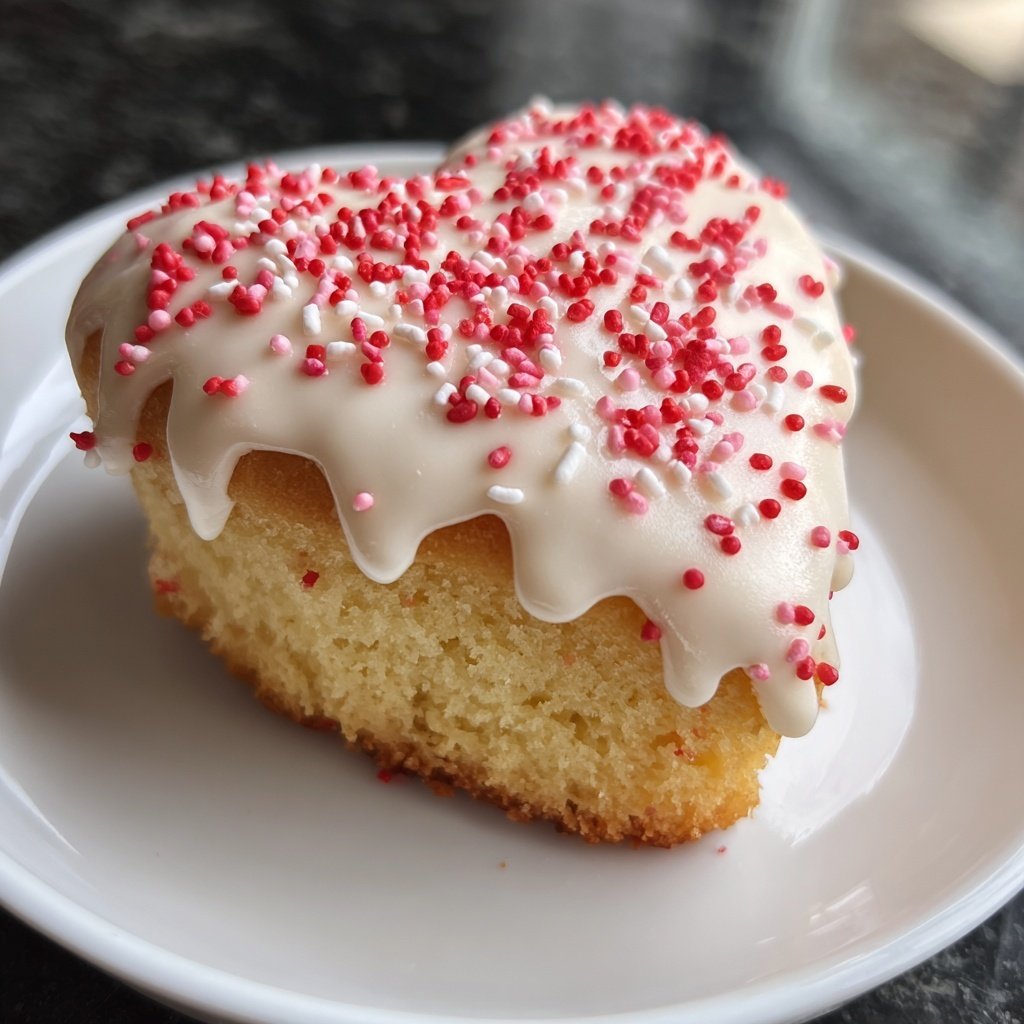
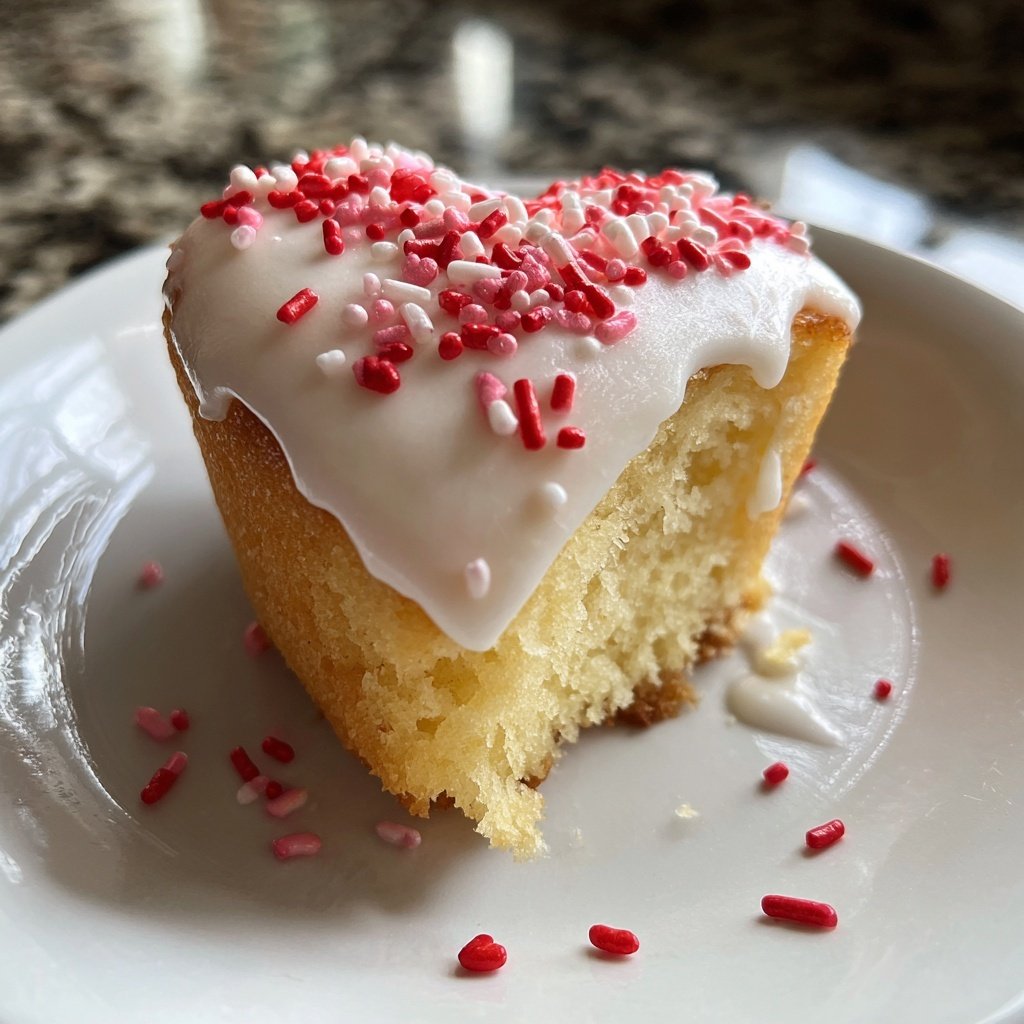
Mini Heart Cake with Vanilla Sponge
Highlighted under: Modern Inspiration
I love creating delightful treats, and this Mini Heart Cake with Vanilla Sponge is one of my favorites. The delicate vanilla flavor combines beautifully with a light and airy sponge that melts in your mouth. It's perfect for any occasion, whether it's a romantic dinner or a sweet surprise for someone you love. This recipe holds a special place in my heart, as it brings joy during celebrations and family gatherings. Trust me, once you try this cake, you'll want to make it again and again!
When I first tried my hand at baking these Mini Heart Cakes, I was amazed at how simple yet impressive they turned out. Using a classic vanilla sponge recipe, I learned the importance of properly folding the batter to keep it airy. This technique ensures a light texture that contrasts wonderfully with any frosting or filling you choose.
During one baking session, I decided to add a hint of almond extract, which elevated the cake's flavor profile to a new level. Experimenting with different extracts can add unique twists to the typically humble vanilla sponge. I encourage you to try it out!
Why You'll Love This Recipe
- Light and airy texture that creates a perfect bite
- Simple ingredients that yield impressive results
- Versatile base that can be dressed up or down for any occasion
The Art of Baking the Perfect Sponge
Achieving a light and airy sponge is all about the method. When creaming the butter and sugar, beat them until the mixture becomes pale and fluffy. This process incorporates air into the batter, contributing to the cake’s rise and texture. If your butter is too soft, it may blend too much, leading to a dense cake. For best results, keep your butter at a cool room temperature before mixing.
When adding your eggs, it’s essential to mix them in one at a time. This allows for better emulsification, ensuring that the batter retains its structure. If you find that your mixture starts to look curdled rather than smooth after adding eggs, it's a sign that your butter may have been too warm or that you added the eggs too quickly. Don’t worry; you can fix this by gently folding in a tablespoon of flour to help bind the mixture.
Ingredient Substitutions
If you’re looking for a healthier option, you can replace the all-purpose flour with a gluten-free flour blend. Just ensure that the blend contains xanthan gum or another binding agent, as this will help mimic the texture of the original recipe. Similarly, for a dairy-free version, substitute the milk with almond or coconut milk, and use a plant-based butter in the frosting for a deliciously creamy result without the dairy.
For a deeper flavor, consider adding a splash of almond extract in place of some vanilla for a unique twist. This addition can enhance the overall taste profile without making the cake overwhelmingly almond-flavored. Additionally, if you’re short on eggs, you can use unsweetened applesauce or mashed banana as egg replacements, though this may subtly alter the texture.
Frosting Tips and Variations
The frosting is as essential to the cake as the sponge itself. For a fluffy buttercream, ensure your butter is softened but not melted. Once you mix in the powdered sugar, aim for a creamy consistency that holds peaks. If your frosting is too thick, a tablespoon of milk can help achieve your desired spreadability. Conversely, if it becomes too runny, adding more powdered sugar can restore the texture.
If you want to experiment with flavors, consider infusing your frosting with citrus zests or adding cocoa powder for a chocolate twist. You can even make a cream cheese frosting by substituting half of the butter with cream cheese, providing a tangy contrast that pairs wonderfully with the vanilla sponge.
Ingredients
For the Vanilla Sponge
- 2 cups all-purpose flour
- 1 cup sugar
- 1 cup unsalted butter, softened
- 4 large eggs
- 1 cup milk
- 2 teaspoons vanilla extract
- 2 teaspoons baking powder
- 1/2 teaspoon salt
For the Frosting
- 1/2 cup unsalted butter, softened
- 2 cups powdered sugar
- 2 tablespoons milk
- 1 teaspoon vanilla extract
- Optional: Food coloring
Prepare all the ingredients before starting the recipe for smoother execution.
Instructions
Preheat the oven
Preheat your oven to 350°F (175°C) and prepare your heart-shaped cake pans by greasing and lightly flouring them.
Mix the dry ingredients
In a bowl, whisk together the flour, baking powder, and salt. Set aside.
Cream the butter and sugar
In a large mixing bowl, cream the softened butter and sugar together until light and fluffy.
Add eggs and vanilla
Add the eggs one at a time, mixing well after each addition. Then incorporate the vanilla extract.
Combine wet and dry ingredients
Gradually add the flour mixture to the butter mixture, alternating with the milk. Mix until just combined.
Bake the cakes
Divide the batter evenly between the prepared pans. Bake for 25 minutes or until a toothpick inserted into the center comes out clean.
Cool and frost
Once baked, allow the cakes to cool in the pans for 10 minutes before transferring them to wire racks. After completely cooled, frost with your favorite frosting.
Make sure to allow the cakes to cool completely before frosting to prevent melting.
Pro Tips
- For a fun twist, try adding citrus zest to the batter or frosting. It brightens the flavor and adds a delightful aroma!
Serving and Presentation Ideas
Once your Mini Heart Cake is frosted and decorated, consider serving it on a decorative cake stand to highlight its charming shape. For a romantic presentation, slice into the cake and serve with a dusting of powdered sugar and fresh berries for color and flavor. The sweetness of the berries complements the vanilla beautifully and adds a pop of freshness.
Another fun idea is to create a tiered cake display by baking multiple layers of the mini cakes and stacking them. This approach not only enhances visual appeal but also allows for a more dynamic serving option with varied frosting flavors or decorations on each layer.
Storage and Make-Ahead Tips
The Mini Heart Cake can be made a day in advance, which helps the flavors meld beautifully. Store the unfrosted cakes in an airtight container at room temperature for up to two days or refrigerate them for up to a week. If you decide to freeze the layers, wrap them tightly in plastic wrap and aluminum foil to prevent freezer burn, which will keep them fresh for up to three months.
When ready to enjoy, simply thaw the cakes in the refrigerator overnight. Frost them while they are slightly chilled for easier application, and remember, freshly made frosting can be stored in the fridge for up to a week. Just re-whip before spreading to restore its creamy texture.
Questions About Recipes
→ Can I make this cake gluten-free?
Yes, you can substitute all-purpose flour with a gluten-free flour blend.
→ How long can I store the cakes?
These cakes can be stored in an airtight container at room temperature for up to 3 days.
→ Can I freeze the cake?
Yes, you can freeze the un-frosted cakes for up to 2 months. Make sure to wrap them well!
→ What can I use instead of butter?
You can use a vegan butter alternative or even applesauce for a lighter flavor.
Mini Heart Cake with Vanilla Sponge
Created by: Olwen Bradford
Recipe Type: Modern Inspiration
Skill Level: Intermediate
Final Quantity: 6 mini cakes
What You'll Need
For the Vanilla Sponge
- 2 cups all-purpose flour
- 1 cup sugar
- 1 cup unsalted butter, softened
- 4 large eggs
- 1 cup milk
- 2 teaspoons vanilla extract
- 2 teaspoons baking powder
- 1/2 teaspoon salt
For the Frosting
- 1/2 cup unsalted butter, softened
- 2 cups powdered sugar
- 2 tablespoons milk
- 1 teaspoon vanilla extract
- Optional: Food coloring
How-To Steps
Preheat your oven to 350°F (175°C) and prepare your heart-shaped cake pans by greasing and lightly flouring them.
In a bowl, whisk together the flour, baking powder, and salt. Set aside.
In a large mixing bowl, cream the softened butter and sugar together until light and fluffy.
Add the eggs one at a time, mixing well after each addition. Then incorporate the vanilla extract.
Gradually add the flour mixture to the butter mixture, alternating with the milk. Mix until just combined.
Divide the batter evenly between the prepared pans. Bake for 25 minutes or until a toothpick inserted into the center comes out clean.
Once baked, allow the cakes to cool in the pans for 10 minutes before transferring them to wire racks. After completely cooled, frost with your favorite frosting.
Extra Tips
- For a fun twist, try adding citrus zest to the batter or frosting. It brightens the flavor and adds a delightful aroma!
Nutritional Breakdown (Per Serving)
- Calories: 210 kcal
- Total Fat: 10g
- Saturated Fat: 5g
- Cholesterol: 65mg
- Sodium: 160mg
- Total Carbohydrates: 30g
- Dietary Fiber: 0g
- Sugars: 18g
- Protein: 3g