Homemade Peanut Butter Cups with Dark Cocoa
Highlighted under: Modern Inspiration
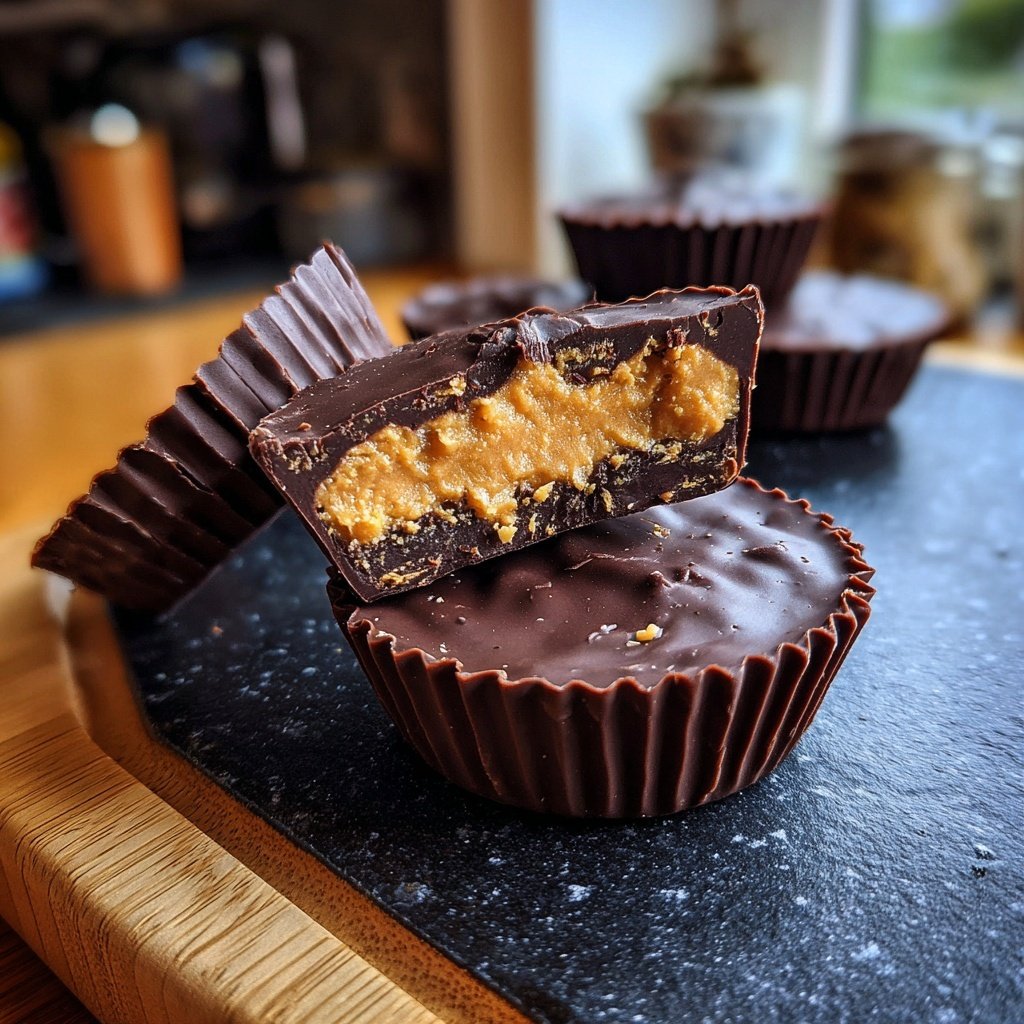
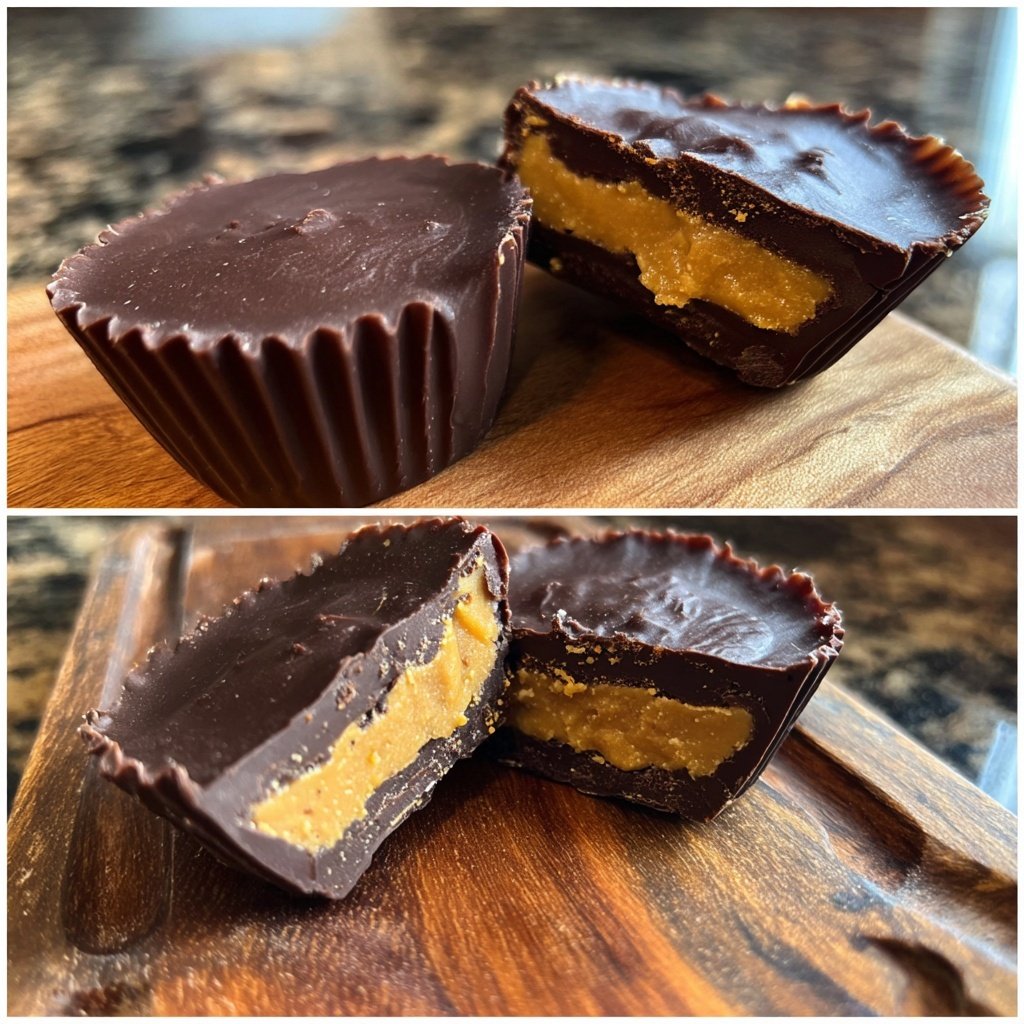
I absolutely love making my own peanut butter cups, and this dark cocoa version has become my favorite. The combination of creamy peanut butter and rich cocoa creates an indulgent treat that’s both satisfying and delicious. Not only do they satisfy my sweet tooth, but they also offer a simple way to get my chocolate fix without the excess preservatives found in store-bought versions. I’m excited to share this easy recipe that will make you wonder why you ever bought them!
When I first attempted to make peanut butter cups at home, I was amazed at how simple they were to prepare. The trick lies in properly melting the dark cocoa and creating that perfect layer of peanut buttery goodness in the middle. I experimented with different brands of peanut butter, and I found that natural peanut butter works best for achieving that creamy texture.
What I love most about this recipe is its versatility. You can add in a pinch of sea salt or even some crushed nuts for an extra crunch. Each bite offers that delightful contrast between the slightly bitter dark chocolate and the sweet and salty peanut butter filling. It's a treat I can't resist!
Why You Will Love This Recipe
- Decadent dark chocolate paired with creamy peanut butter
- Easy to make with just a few ingredients
- Customizable to suit your taste preferences
Mastering the Chocolate Mixture
The key to achieving a smooth and luscious chocolate layer is to melt the dark cocoa powder and coconut oil slowly over low heat. This prevents burning and ensures that the mixture remains glossy. Stir frequently with a spatula to combine evenly. Once melted, remove it from the heat before adding liquid sweeteners like honey or maple syrup. This helps to achieve a rich texture without any graininess, which can occur if added directly to high heat.
If you find your mixture too thick after adding the sweetener, you can gradually add a teaspoon of warm water to achieve the desired consistency. Be cautious not to add too much at once, as the mixture should remain thick enough to hold its shape when cooled. This chocolate blend not only serves as the outer shell but also contributes to the overall richness of the peanut butter cups.
Creating the Perfect Peanut Butter Filling
The peanut butter filling is as crucial as the chocolate exterior. Ensure you’re using creamy peanut butter, as it yields a smoother filling that pairs beautifully with the chocolate. If you prefer a little texture, consider using a natural peanut butter with some crunchiness. However, be cautious with the powdered sugar—add it gradually, tasting as you go, to maintain a balance between sweetness and the nutty flavor.
If you want a healthier option, you can substitute the powdered sugar with nut-based sweeteners like monk fruit or erythritol. Keep in mind that this may alter the flavor slightly, but it can still create a delightful filling. Also, experimenting with flavored extracts, such as almond or hazelnut, can add a unique twist to your peanut butter filling, making your treats even more special!
Ingredients
For the Cups
- 1 cup dark cocoa powder
- 1/2 cup coconut oil
- 1/4 cup honey or maple syrup
For the Filling
- 1 cup creamy peanut butter
- 1/4 cup powdered sugar
- 1 tsp vanilla extract
Instructions
Instructions
Melt the Chocolate Mixture
In a small saucepan over low heat, combine the dark cocoa powder, coconut oil, and honey until melted and smooth. Remove from heat and let cool slightly.
Prepare the Cup Liners
Line a muffin tin with paper liners and pour a small amount of the melted chocolate mixture into each liner, just enough to cover the bottom.
Mix the Peanut Butter Filling
In a separate bowl, combine the peanut butter, powdered sugar, and vanilla extract until smooth and well blended.
Fill the Cups
Spoon a portion of the peanut butter mixture into each chocolate-lined cup, leaving some space at the top.
Top with More Chocolate
Pour the remaining chocolate mixture over the peanut butter filling, covering it completely. Tap the muffin tin gently on the counter to remove air bubbles.
Chill Until Set
Place the muffin tin in the refrigerator for about 20 minutes or until the chocolate is firm. Once set, remove the cups from the liners and enjoy!
Enjoy!
Pro Tips
- For an extra pop of flavor, consider adding a sprinkle of sea salt on top of each cup before chilling them. You can also experiment with different nut butters for added variety.
Storage and Make-Ahead Tips
These homemade peanut butter cups can be stored in an airtight container in the refrigerator for up to two weeks. If you want to make them ahead of time for a special occasion, they can actually be frozen for up to three months. Just separate layers with parchment paper to prevent sticking. When you're ready to enjoy, allow them to thaw in the refrigerator for a couple of hours for the best texture.
For a delightful variation, consider adding a pinch of sea salt on top before chilling. This enhances the flavors and adds a marvelous contrast to the sweetness. You can also play with the ratio of peanut butter to chocolate layers according to your preference; making the chocolate thicker or thinner adds another layer of customization to your treat.
Troubleshooting Common Issues
One common issue when making these peanut butter cups is the chocolate mixture hardening too quickly. To combat this, ensure you’re working in a warm environment, and only heat the mixture gently. You can also keep the remaining chocolate in a warm water bath if you need more time to layer the filling.
If your cups appear to have an uneven surface after chilling, it might be because the chocolate layer was poured too thickly in some areas. To fix this, gently reheat the tops using a hairdryer on low or use a warm spoon to smooth them out. This technique allows you to achieve that smooth and professional finish everyone loves!
Questions About Recipes
→ Can I use milk chocolate instead of dark cocoa?
Absolutely! If you prefer milk chocolate, just substitute the dark cocoa powder and adjust the sweetness accordingly.
→ How long do these peanut butter cups last?
They can last up to a week in the refrigerator if stored in an airtight container.
→ Is it possible to make these vegan?
Yes, by using a plant-based sweetener and ensuring that the chocolate is dairy-free, you can easily make these vegan.
→ Can I freeze these peanut butter cups?
Yes, you can freeze them! Just make sure they are well-wrapped to prevent freezer burn.
Homemade Peanut Butter Cups with Dark Cocoa
Created by: Olwen Bradford
Recipe Type: Modern Inspiration
Skill Level: Easy
Final Quantity: 12 cups
What You'll Need
For the Cups
- 1 cup dark cocoa powder
- 1/2 cup coconut oil
- 1/4 cup honey or maple syrup
For the Filling
- 1 cup creamy peanut butter
- 1/4 cup powdered sugar
- 1 tsp vanilla extract
How-To Steps
In a small saucepan over low heat, combine the dark cocoa powder, coconut oil, and honey until melted and smooth. Remove from heat and let cool slightly.
Line a muffin tin with paper liners and pour a small amount of the melted chocolate mixture into each liner, just enough to cover the bottom.
In a separate bowl, combine the peanut butter, powdered sugar, and vanilla extract until smooth and well blended.
Spoon a portion of the peanut butter mixture into each chocolate-lined cup, leaving some space at the top.
Pour the remaining chocolate mixture over the peanut butter filling, covering it completely. Tap the muffin tin gently on the counter to remove air bubbles.
Place the muffin tin in the refrigerator for about 20 minutes or until the chocolate is firm. Once set, remove the cups from the liners and enjoy!
Extra Tips
- For an extra pop of flavor, consider adding a sprinkle of sea salt on top of each cup before chilling them. You can also experiment with different nut butters for added variety.
Nutritional Breakdown (Per Serving)
- Calories: 120 kcal
- Total Fat: 9g
- Saturated Fat: 4g
- Cholesterol: 0mg
- Sodium: 50mg
- Total Carbohydrates: 10g
- Dietary Fiber: 1g
- Sugars: 6g
- Protein: 3g